Introduction
EdgeVPN.io relies on XMPP services to bootstrap nodes into the VPN. This how-to guides you through the process of deploying an Openfire XMPP server using Docker.
Note 1: this how-to deploys Openfire with an embedded database in a Docker container and is meant to be used as a starting point for testing. This how-to is not intended to guide you through a process to configure/host a persistent MySQL and XMPP server - there are additional steps you’d need to do that are specific to your domain. There are also several options to host persistent Openfire services on cloud providers, such as https://bitnami.com/stack/openfire
Note 2: This how-to has been tested with Openfire version 4.5.1
Step 1: Install Docker
Make sure you have Docker installed in your system.
You may follow a guide on how to install Docker for your system, or you may follow the instructions below to install Docker (and other dependences) if you are using Ubuntu 18.04:
curl -fsSL https://download.docker.com/linux/ubuntu/gpg | sudo apt-key add -
sudo add-apt-repository "deb [arch=amd64] https://download.docker.com/linux/ubuntu bionic stable"
sudo apt-get update -y
sudo apt-get install -y openvswitch-switch \
                        python3 python3-pip python3-venv \
                        apt-transport-https \
                        ca-certificates \
                        curl git \
                        software-properties-common \
                        containerd.io \
                        docker-ce-cli \
                        docker-ce
sudo groupadd -f docker
sudo usermod -a -G docker $USER
Step 2: Run Openfire Docker container
We will use the Docker container from quantumobject:
docker run --name openfire -d -p 9090:9090 -p 5222:5222 -p 5269:5269 -p 5223:5223 -p 7443:7443 -p 7777:7777 -p 7070:7070 -p 5229:5229 -p 5275:5275 quantumobject/docker-openfire
Step 3: Configure Openfire
-
Point your browser to http://A.B.C.D:9090, where A.B.C.D is the IP address of the Docker host
-
Select your language, and continue
-
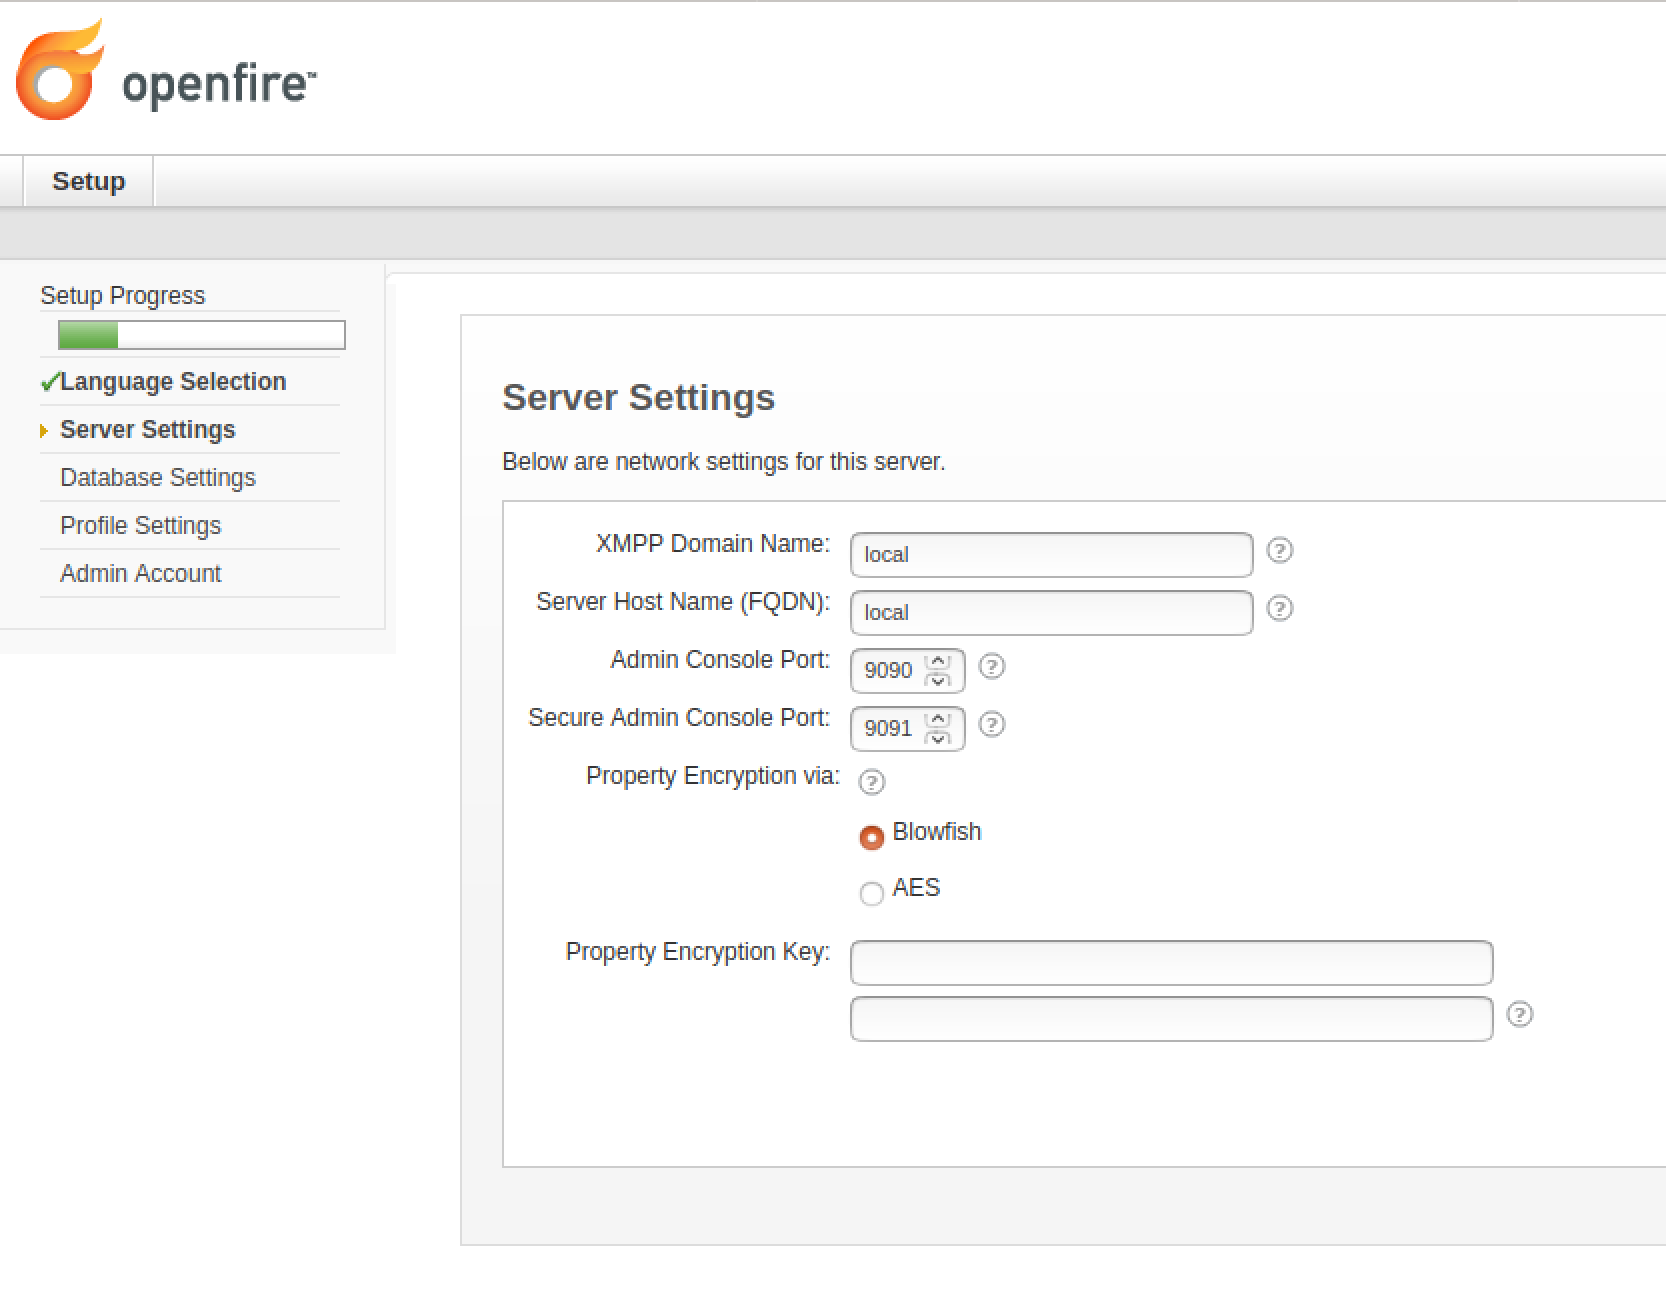
Set both XMPP domain and server host name as local
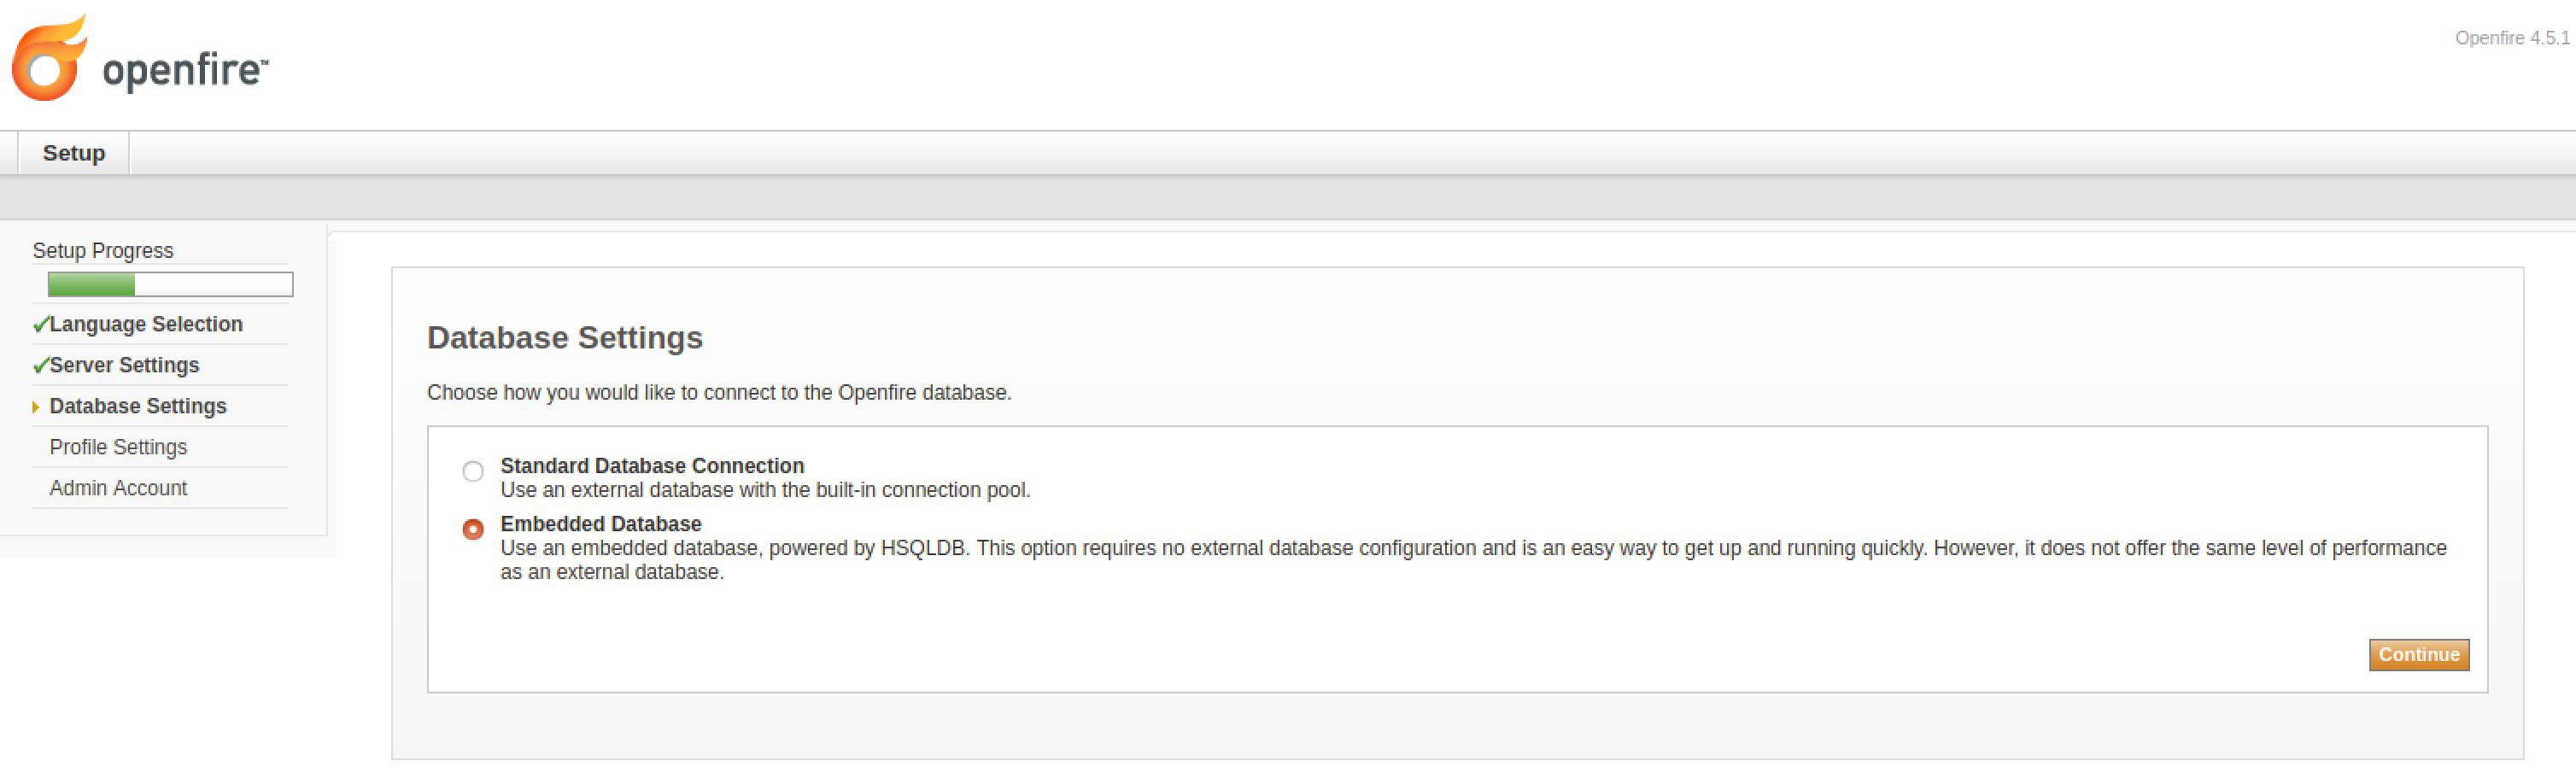
- Select “Embedded database” and continue:
-
Select “default” for profile settings and continue
-
Enter your email address, and a password for the admin user
-
A prompt to “Login to the admin console” appears; when you click on it, log in with user admin and the password you just created
Step 4: Let’s add test users and group them
You will now use the Web admin interface to create two test users - test1 and test2 - and assign them to a group (i.e. they will join the same network)
Start by creating the two users:
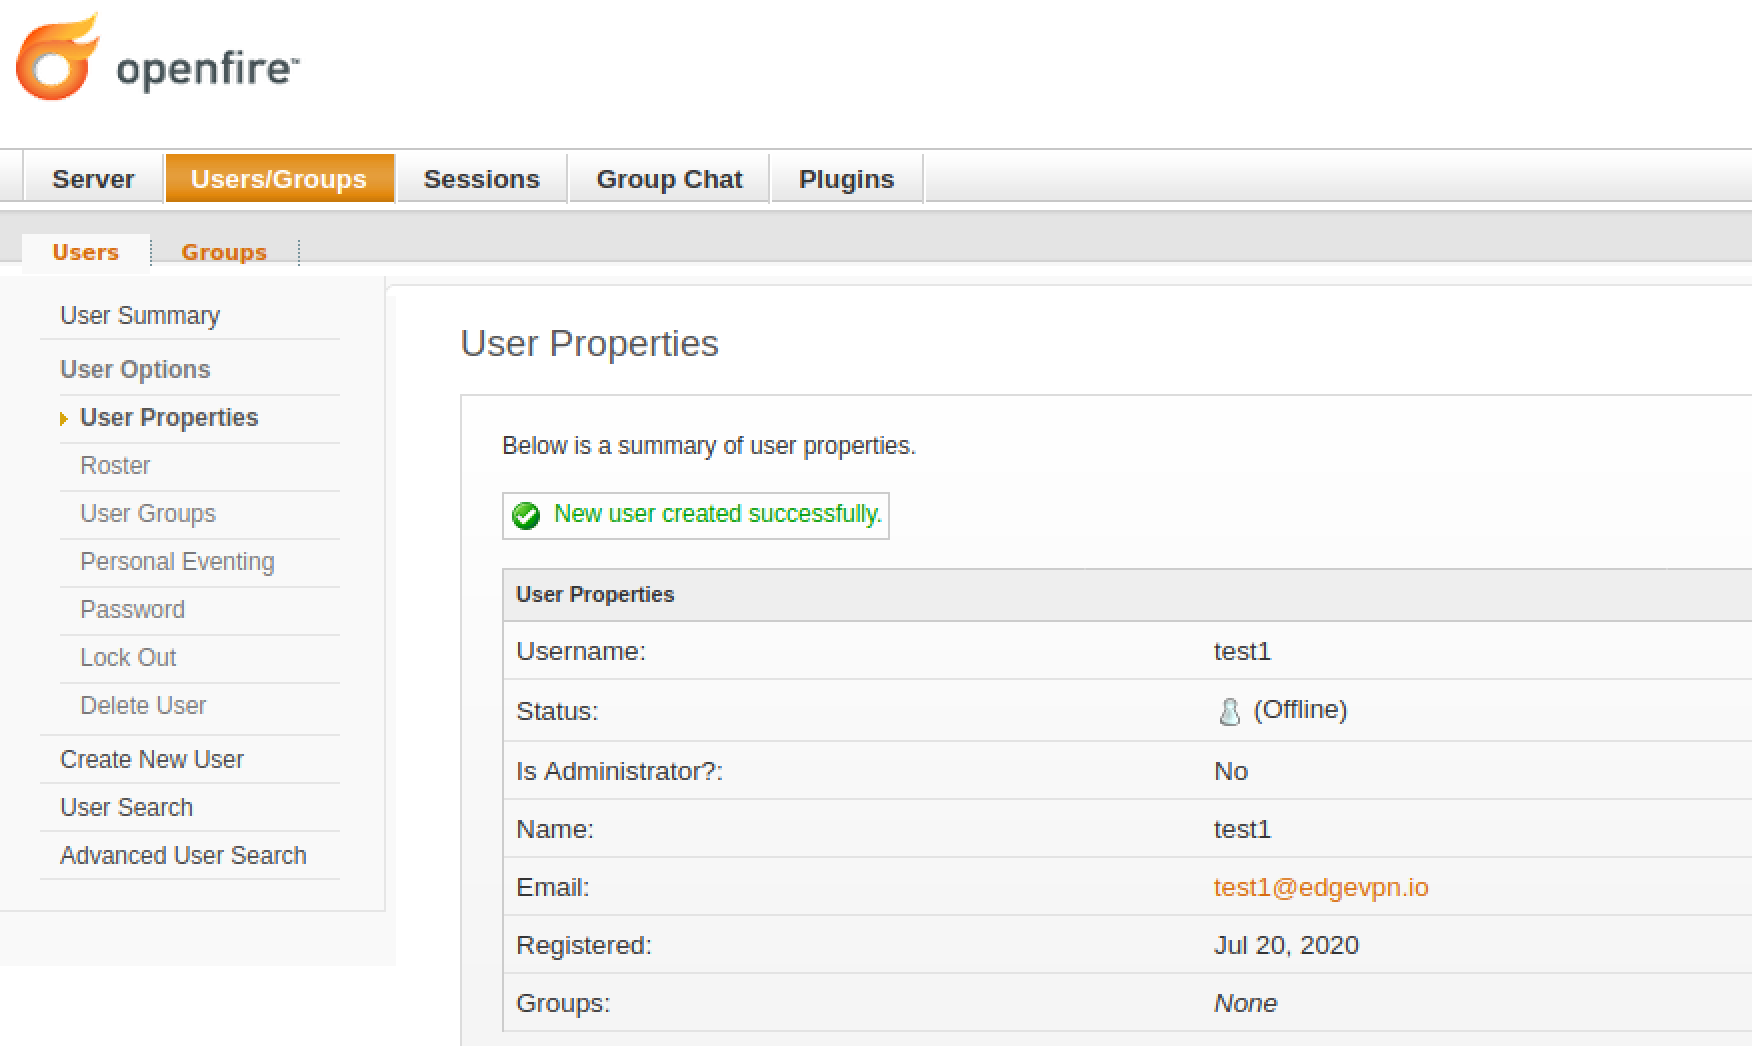
- Navigate the user interface to Users/Groups -> Users -> Create New User
- Select username and password - we’ll use (test1, password_test1) and (test2, password_test2) for the (user, password) pairs in the examples below. Once a user is created, you’ll see that it’s been added:
- Repeat, creating the user test2
Then, create a group:
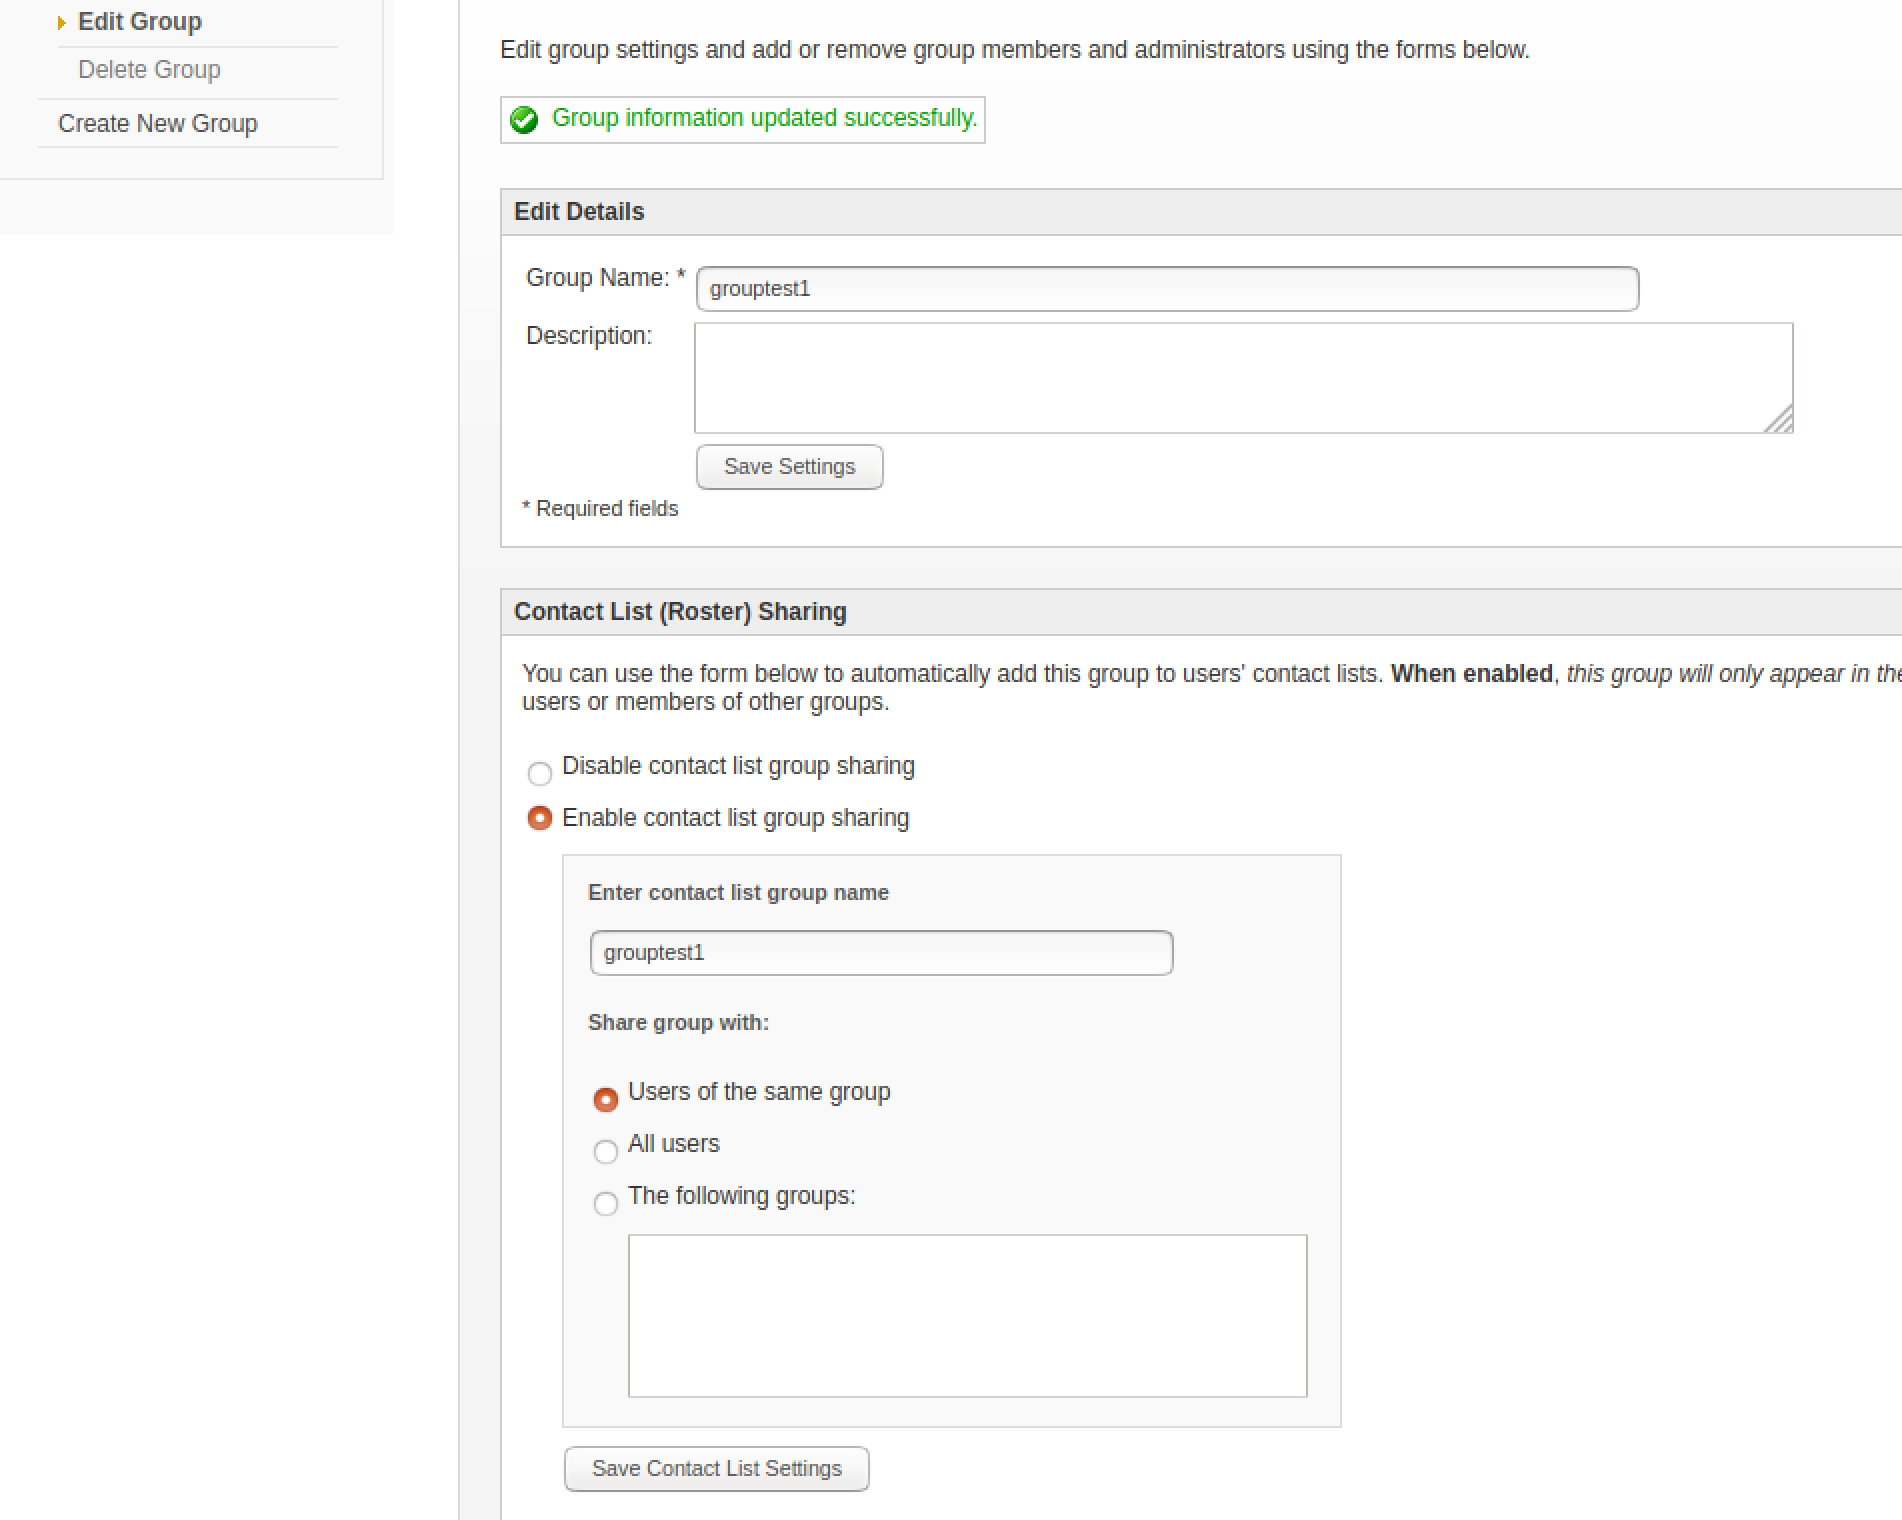
- Navigate the user interface to Users/Groups -> Groups -> Create New Group, and create grouptest1
- Select “Enable contact list group sharing”, select share group with “Users of the same group”, and click on “Save contact list sharing”:
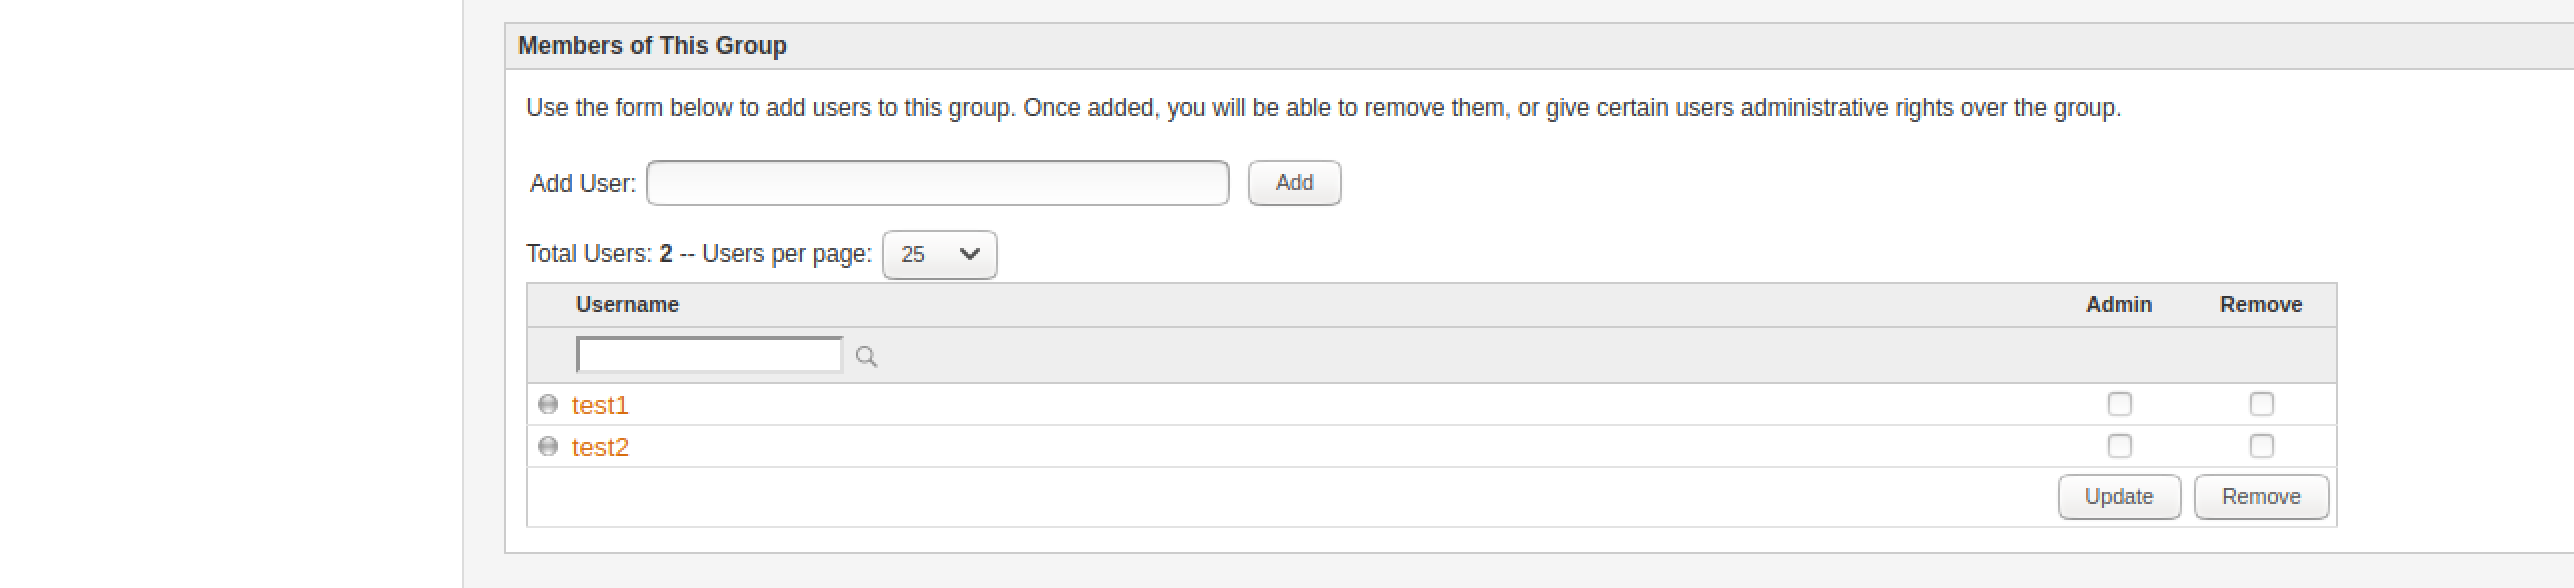
- Scroll down the interface to add users test1 and test2 to this group
Step 5: Configure
You are now ready to configure the system to use this XMPP server. Follow the instructions on how to install EdgeVPN.io using Docker to setup two containers for users test1 and test2